|
"I have to say I'm impressed with your product I don't think people understand
it's just been [me] and my wife in a one car garage with no welding experience. We
have done project cars but never built anything to this extreme. I can't wait to
get this on the road I think it will be a real one of a kind and I like the fact
I don't see these everyday on the road..."
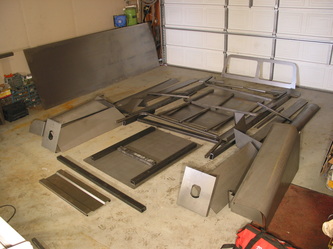
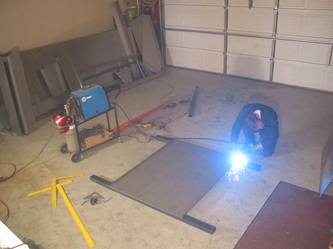
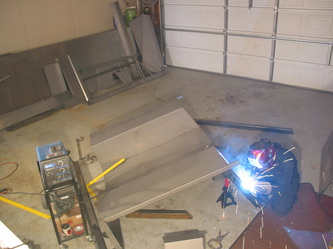
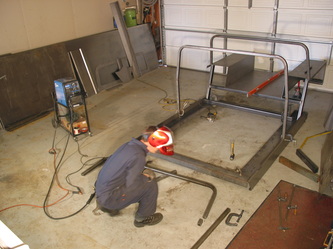
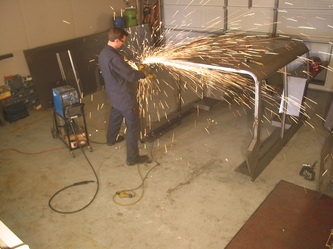
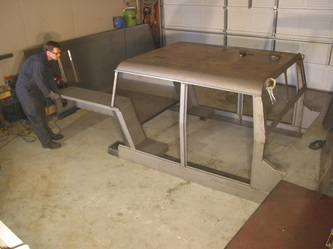
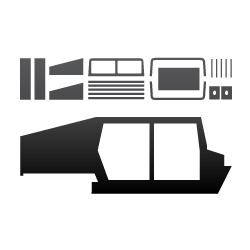
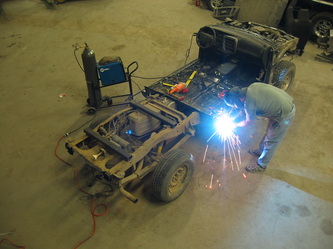
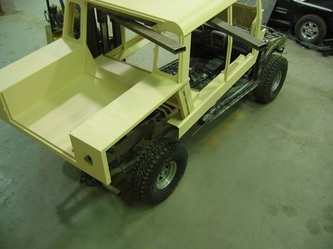
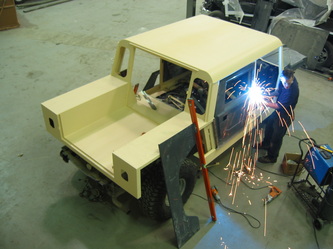
Ed M. California 1. Body Pre-Welding (optional)If you choose to receive your body un-assembled, the steps are simple. Weld the body as seen in the Weld-It-Yourself time-lapse video and the new corresponding Weld-It-Yourself Guide. Make sure to double check measurements and tack weld first and then finish weld after everything is in the proper location. Be sure that tubes are kept flat and level. Remember to brace tubes for finish welding as even strong 2x3 tube can warp dramatically if welded too hot or too long of welds at one time. Start with the back of the bed area and move forward, always double-checking for square, level, and alignment. Only stitch-weld the sheet metal (e.g. ½" of weld about every 6 inches) and move around where you weld to keep from warping the metal (e.g. don’t weld all stitches along a single tube at once). If this more than you'd like to do yourself you can have us do all of the pre-assembly and ship the body completely welded at a reasonable cost!
| |||||||||||||
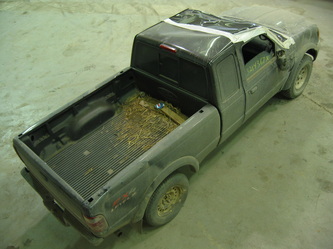
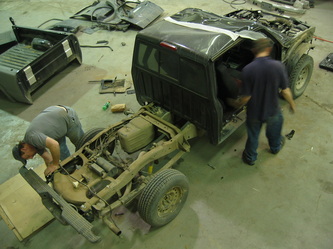
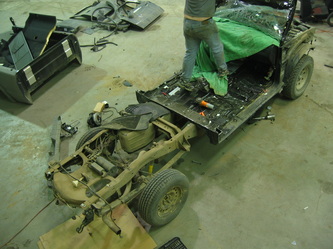
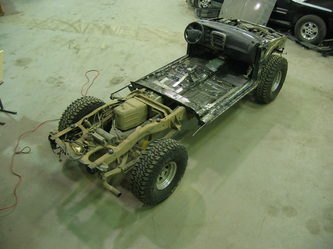
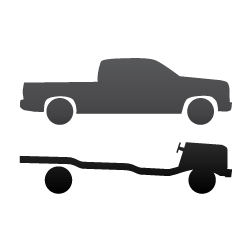
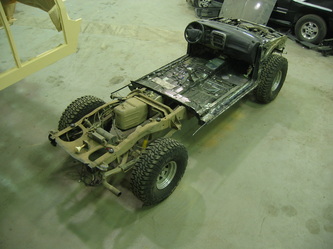
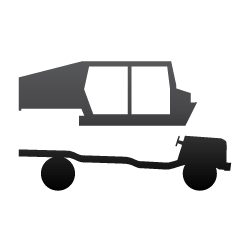
2. Donor PrepSafety First - Remember to use safety gear and take all precautions (e.g. don’t cut into gas tank or shoot sparks with unprotected/open fuel line/filler/tank...). Remove the body components that will not be retained as seen in the Quick Swap Time-Lapse video and General Assembly Guide (e.g bed, bumpers, hood, fenders, doors, lights - remember to label the wires...). Remove the interior pieces (e.g. seats, carpet...) so you can trim off the cab/balance of body. Cut the body off at the desired height where the new body will rest. Cut off the windshield posts down to the firewall and cap if desired.
|
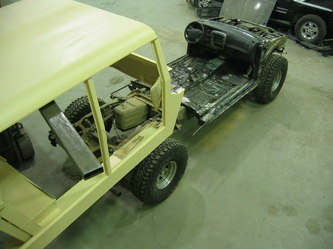
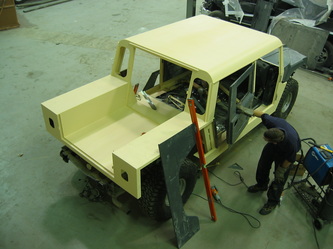
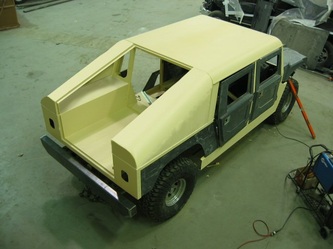
3. Body MountingRough position the pre-welded body and hood over the chassis using blocks and spacers. Then hone in the positioning using the tires and the new hood for reference. Refer to mounting diagrams in the General Assembly Guide for spacing relative to the tires. Use the quarter panel inserts as a guide. Later you can trim the front and back of the quarter panel inserts and the back of the rocker panels as necessary. Once the body is in position and double-checked you can mount the body to the new body using tubes or plate. You can weld the bed area to the cross tubes that mount over the rear frame (be sure to use some kind of mounts/isolators between the frame and the body). Enclose the sides of the firewall and from under the new windshield overlapping the old windshield area using rubber mat/potato roll/urethane... to ensure a good seal.
|
4. Exterior and Interior FinishingPosition and drill/mount the door hinge plates (tap 5/16" threads into the provided backing plates). Position the doors into place and check gaps and spacing then tack weld the hinge pins onto the door hinge plates (preferably with the pin/male portion sticking up- attached to body and female side to door hinge plates so water doesn’t collect in female side later). Be sure to not over heat/weld the hinge pins or they will seize. Next cut the upper portion of the inside of door as shown in the guide and install the window glass, felt trim, window mechanisms, latches, door handles... Position a striker bolt into the latch after closing the door and determine mounting location (may use short piece of tube, angle, plate...). Finish mount the bumpers and hood and cut openings/install the lights, hinges, latches... Do the body work and paint. Have the glass installed. Do the interior. Install the remaining hardware, seals, etc... And then enjoy you one-of-a-kind ultimate 4x4 truck! Visit the Customer Experiences page to see what others have done!
|
|
_© 2012 Urban Gorilla LLC - All Rights Reserved
Notice: Urban Gorilla sells superior-quality, steel bodies for customers to use to build their own vehicle/kit car/re-body. These body packages are not GM® Kits, Dodge® Kits, Ford® Kits, Chevrolet® Kits, Land Rover® Kits, HMMWV Kits, Humvee® Kits, Hummer® Kits, H1® Kits, H2® Kits... kit cars, replicas, replicars... Urban Gorilla LLC is not associated with any of these companies, their subsidiaries, their owners, or any other company in any way. These names are registered trademarks of their respective owners.
Notice: Urban Gorilla sells superior-quality, steel bodies for customers to use to build their own vehicle/kit car/re-body. These body packages are not GM® Kits, Dodge® Kits, Ford® Kits, Chevrolet® Kits, Land Rover® Kits, HMMWV Kits, Humvee® Kits, Hummer® Kits, H1® Kits, H2® Kits... kit cars, replicas, replicars... Urban Gorilla LLC is not associated with any of these companies, their subsidiaries, their owners, or any other company in any way. These names are registered trademarks of their respective owners.


